Most reprints we see are caused by one of four artwork problems. None of them are hard to avoid once you know what the printer needs.
Send a PNG with a transparent background
A PNG with a genuine transparent background is the safest format for DTF. Anything left white in the file will print white, because DTF lays down a white underbase behind your colours. If your logo sits on a white square in the file, it will sit on a white square on the garment.
300 DPI at the size it will be printed
Resolution only means something when it is tied to a physical size. A 1000 x 1000 pixel file is 300 DPI at roughly 8 cm square, and about 100 DPI at 25 cm square. Set your artboard to the finished print size first, then check the resolution.
Images pulled from social media are the usual culprit – they are compressed and downsized on upload, so they arrive far below print resolution no matter what you scale them to afterwards.
Convert text to outlines
If you send a vector file, outline your type. It removes any chance of a font substituting for something else on our machine and changing the look of your design.
Leave a little space around each design
You will be cutting the designs apart by hand. A few millimetres of clear film around each one makes that much easier and protects the edges of the print.
Fill the sheet
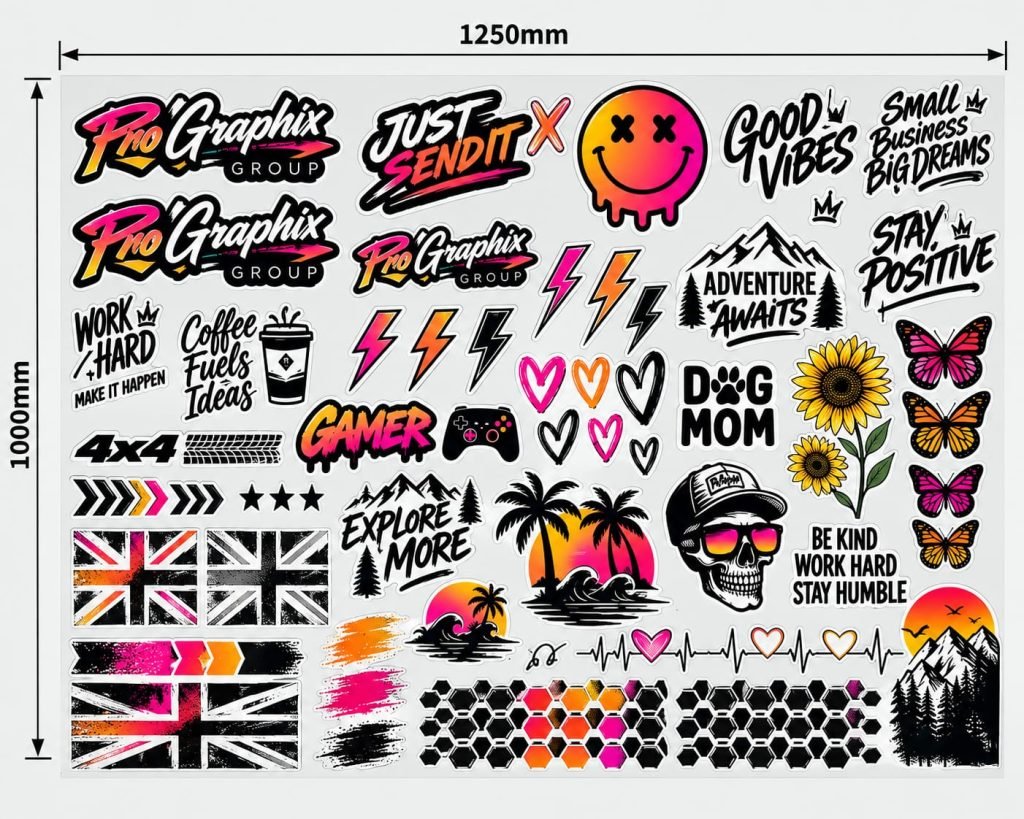
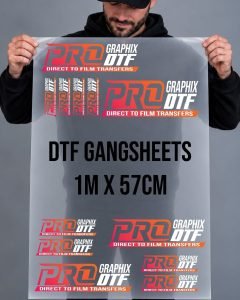
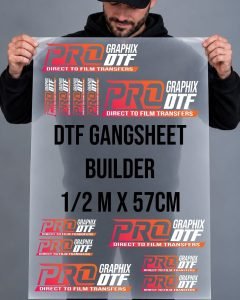
You pay for the length of film, not the number of designs on it. Nest your artwork tightly, repeat the designs you use most, and add the small extras – sleeve prints, name labels, small badges – that would not be worth ordering on their own.